Adapted from a blog post for MIT Admissions
This past January, during MIT’s Independent Activities Period (IAP), five MIT students welded bike frames and assembled our own bikes at MIT D-Lab!
Welding a seat tube
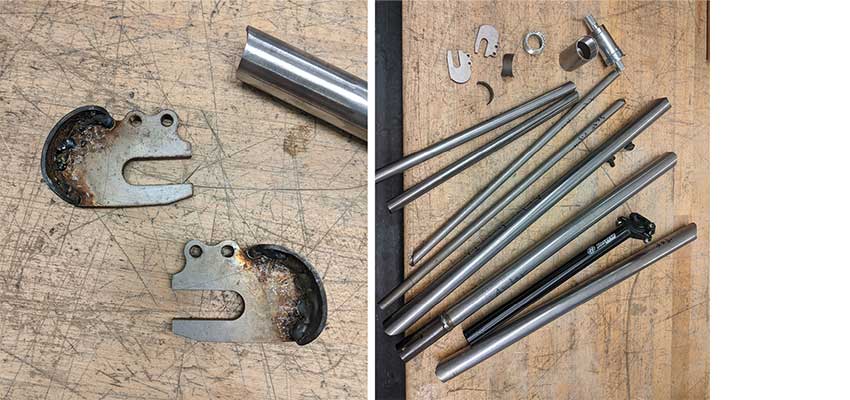
To begin, there were a few preparatory steps, such as tapping the dropouts and the bottom bracket, cutting the head tube down to size, and welding together the seat tube.
Welding a bike
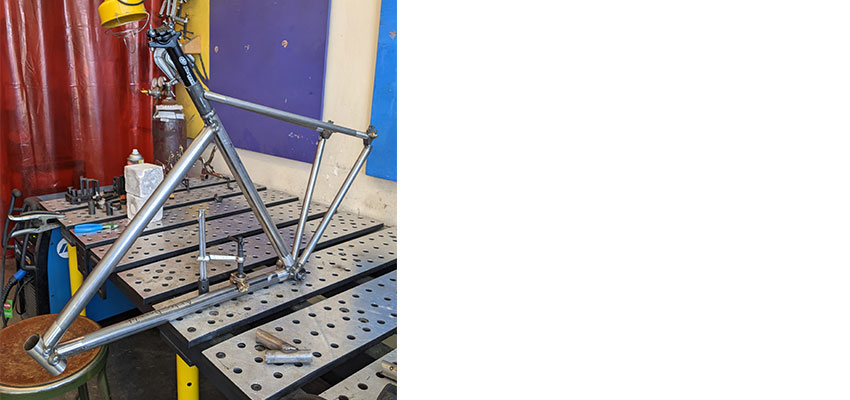
Our instructors, D-Lab Workshop Manager Jack Whipple and Josh Maldonaldo ’22, laser cut the tubes for us, so all we had to do was tack them in place, then weld ’em together. Simple, right?
Indeed — except that I had just learned how to MIG weld, and the learning curve was sometimes steep.
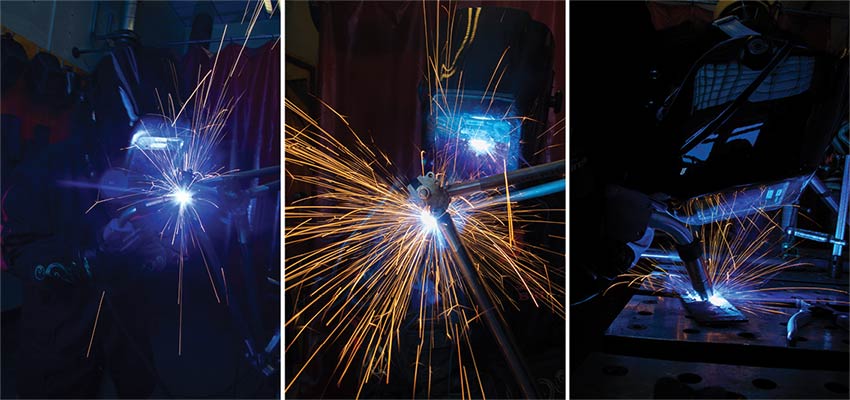
Before you set up to weld, you turn on the fan or open a window, so fumes don’t build up in the room. You turn on the shielding gas and check the settings of the welder. Then you suit up — a jacket with sleeves that flop over your hands, the smallest set of gloves, a hood you’ll flip up and down as you go. It feels like a lot, the first few times. My hands were shaking from caffeine, consumed in excess to make up for too little sleep.
Ready? Clamp your pieces down, track where your welding gun will travel, and press the trigger.
Learning to weld
Electricity sparks and the world goes black except for a single orange bead. You can’t quite see the piece, just guess where it begins and ends. You move the welding gun quickly — linger and you’ll burn holes you don’t yet know how to fix — but not too quickly, or else the weld will sit atop the workpiece and not fuse much of anything together. You don’t know how to grind that off and re-do it, either.
Beginners make mistakes, and this welding machine in particular was finicky. The wire feed would go too slowly sometimes, which made the wire tangle. If you hold the contact tip too close, you might fuse a bead of metal to the contact tip, which clogs the welding gun.
Needless to say, I did all of these things. Each time, I’d freeze, then sheepishly approach the instructors, asking how to fix whatever came up.
The instructors showed me how to replace the contact tip (I kept the discarded ones and turned them into earrings) and re-feed the tangled wire. They demonstrated how to cover up a hole I burned, and told me what I’d done wrong, so that next time the weld would come out clean. I ground down a handful of welds, getting used to the way the angle grinder sprayed sparks.
The more practice I put in, the more confident I felt. I came to thoroughly enjoy the process. The final day, I traced where the welding arc would go, each time around weirder angles and into smaller corners. I’d saved the hardest parts for last. I lowered my hood and set to work.
My photographer friend Audrey Chen (@auds_photography) came to hang out several times, and she took some epic photos. I loved watching her figure out how to frame them. She’d set up a shot while I prepared how I’d approach a certain weld; then I’d begin, and she’d shoot blind, because you can’t see anything through the welding helmets once sparks begin to fly.
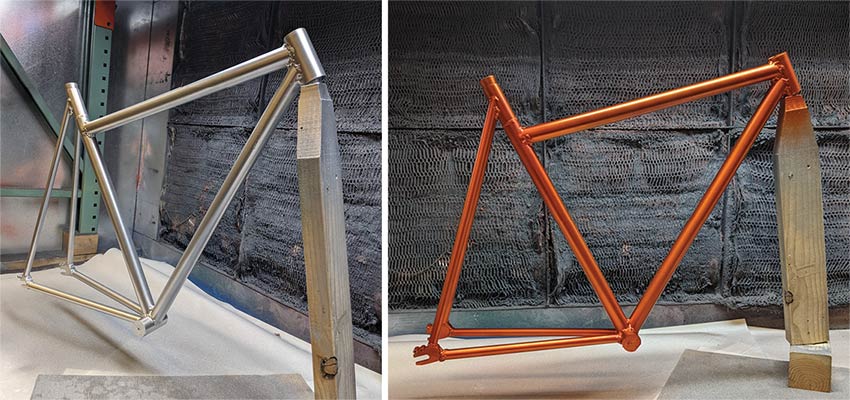
Painting
We sandblasted our bike frames in the Area 51 Edgerton Lab until they were uniformly smooth and shiny. Then we set up in the paint room at Milkdrop, a workshop near D-Lab, and spray-painted our bikes a variety of colors — purple and yellow, chrome, blue, orange.
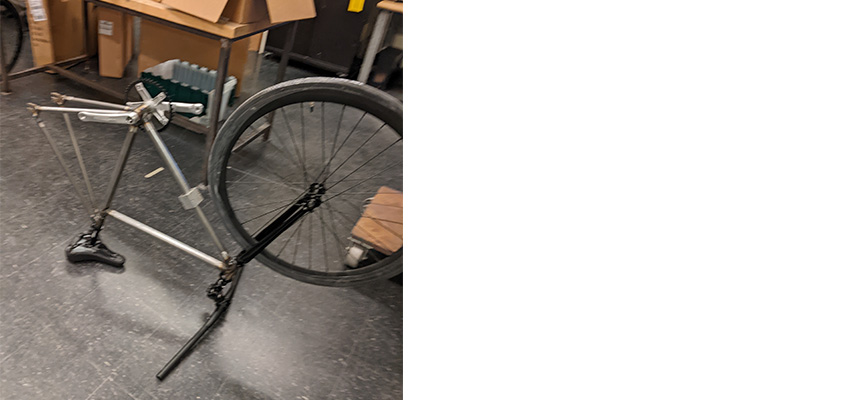
Assembly
We assembled our bikes in the span of two days, working in sequence, so that each person could ask the one ahead of them how certain steps were done. Bike assembly is more complex than I’d realized before; there are many specialized tools and techniques, as well as a good deal of simply tightening screws and bolts.
My favorite part of this was attaching the chain; there are special chain tools to detach and attach chain links which were fun to use. We were working with single-speed bikes, so we essentially tensioned the chain by hand by placing the back axle a suitable distance along the dropouts.
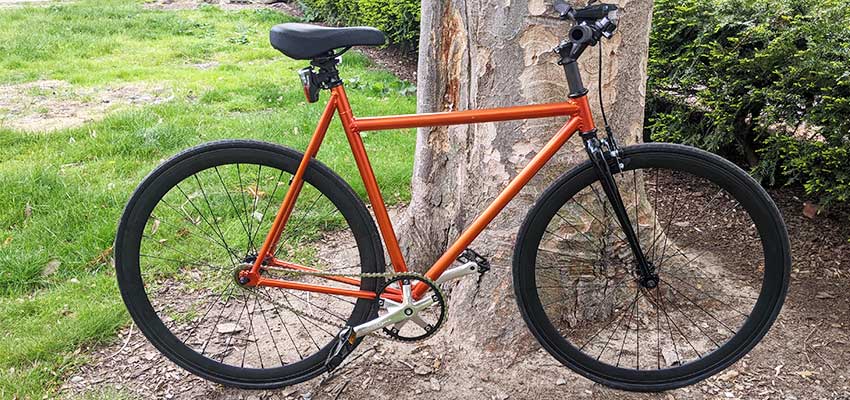
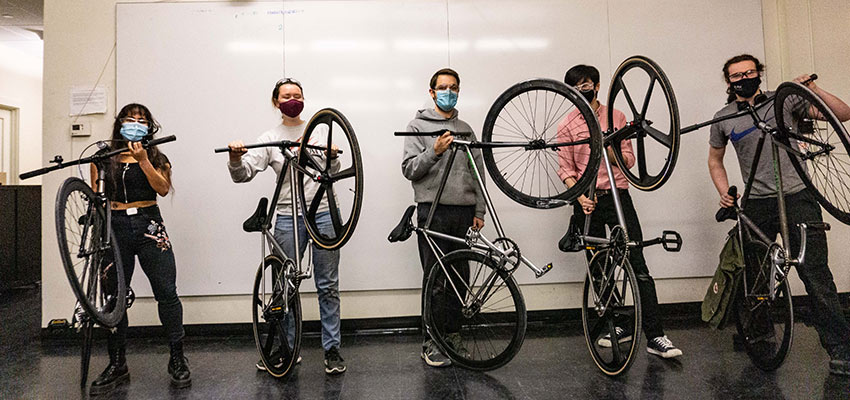
We rode our bikes down the hall, into a room to take pictures, and then out into the wide world.
Coming into my own in the workshop — through welding
This class helped me come into my own in the shop. Learning how to weld was important — so many more projects are accessible to me now — but seeing that I could learn welding was, in a way, just as important. I’ve heard someone at MIT say once that being an MIT student doesn’t mean you know how to do everything; you just know you can figure out how to do many things.
The other day, a friend asked me if I could weld aluminum. Welding aluminum requires different equipment, and more skill with TIG welding than I currently have. I cocked my head, and said, “Not today. But if you gave me three business days to learn, probably.”
About the author
Amber Velez '24 Amber Velez studies Mechanical Engineering and History at MIT. She is working at a nuclear engineering startup in Denmark this summer and plans to pursue sustainable energy. When not welding metal, she enjoys listening to it. Check out her fiction and projects here!
More information
MIT D-Lab Build Your Own Bike IAP class
Contact
Jack Whipple, MIT D-Lab Workshop Manager